Part 5: How to Customize Menus and Title Text for Custom Pages in WordPress
This is the fifth and final article in our series about planning and implementing custom landing pages in WordPress. Each article is intended to be useful in its own right and applicable beyond landing pages, but taken together the series walks through the whole process of planning and implementing a custom landing page that integrates cleanly into a WordPress-powered website. The resulting page will be easily editable with familiar forms in the WordPress admin system.
How to Customize Menus and Title Text for Custom Pages in WordPress
Time for Some Finishing Touches!
In the previous article, we ended with our landing page structure built and ready to style. This time we’ll apply some finishing touches to both our theme and our site settings in three areas:
Menus – We’ll make sure our landing pages appear or don’t appear in our site menus.
Title Text – We’ll customize our HTML document titles.
After all of that we’ll summarize this series of tutorials and consider some possible improvements.
Before we get to any of that, though, let’s make sure our page template is actually styled up and ready for those finishing touches.
Starting with Style
Hopefully you’ve styled your theme to your liking. If not, feel free to use my version of style.css as you work through this tutorial.
Once you’re happy with your styles you may wish to update screenshot.png (required for every WordPress theme) to represent your theme on the Themes page in the WordPress admin system (Appearance ► Themes). WordPress recommends a 1,200 pixel wide by 900 pixel high PNG.
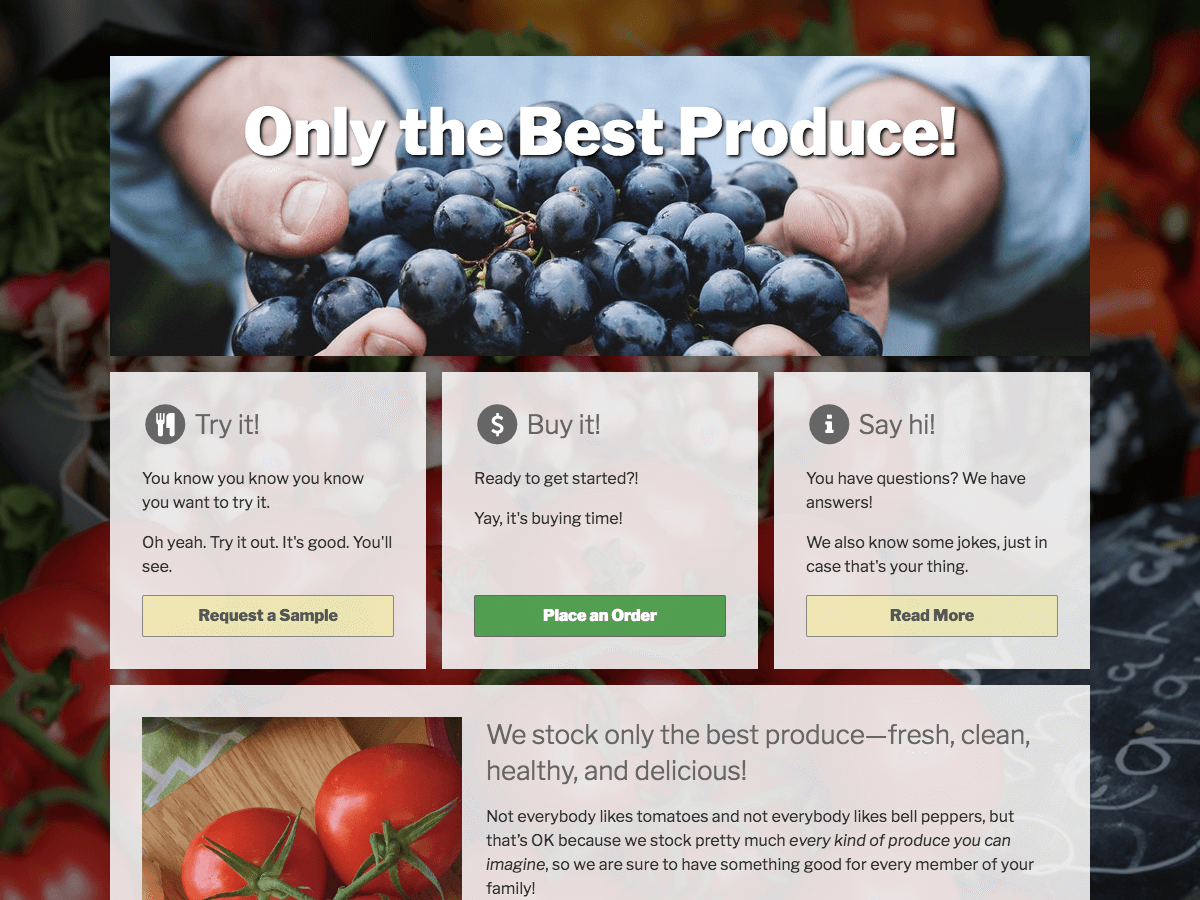
Here’s my version of screenshot.png using the above styles (Figure 1):
Figure 1: screenshot.png
Prettying Up Icons
As you may have noticed, I’ve replaced the Placeholder.com icons with Font Awesome icons in my version of the theme. If you’d like to do the same in your version you just need to add one line to your page template file and change a few lines in functions.php.
First, include the Font Awesome CSS in your page template file. Font Awesome 5 is now available, but I’m sticking with trusty ol’ version 4.7 for now:
Your template file name may vary, of course, especially if you’ve separated your template into multiple parts. You should include the Font Awesome CSS within your HTML head element (e.g., right before the wp_head() call).
Next, just change the before_title values in the option arrays for your register_sidebar() calls in functions.php. The results should be like so:
Font Awesome offers plenty of different icons and settings as well as a new version with more options, so feel free to explore and experiment.
Curating Site Menus
WordPress menus are a mature core system, so they are already well documented, but landing pages tend to be different from other kinds of pages, so how these pages integrate with that core system warrants special consideration and a brief overview.
Landing pages are often excluded from site navigation and their designs tend to differ from other pages on their same sites. They also often omit common site menus in favor of custom traffic-funneling navigation. We won’t get into custom landing page menus here, but we will discuss how to curate our common site menus to make sure our landing pages appear or don’t appear in our site menus as we prefer.
WordPress menu options can vary from version to version, theme to theme, and even template to template. For example, default WordPress themes have offered “Social Links Menu” as a menu location for years, but the “Twenty Seventeen” theme replaced the “Primary Menu” location of its predecessors with “Top Menu”. And regardless of what theme you’re using and what any particular menu display location is called new pages may or may not be automatically added to menus.
It’s a good idea to check some of your settings whenever you add a new page to be sure that the page is included in or excluded from your site menus as you prefer. Let’s ask ourselves a few questions to guide our explorations:
Are there any active menus?
If so, are the active menus assigned to the proper locations?
Are new pages automatically added to any menus?
Should we manually add or remove our new page?
With these things in mind, let’s start from the beginning.
Menu System Overview
Menus may not yet exist on a WordPress web site, so let’s start by adding one. There is more than one way to add a menu in WordPress, but we’ll do so via Appearance ► Menus in the admin system.
Here is the Menus page with no menus (Figure 2):
Figure 2: Menus – None Yet
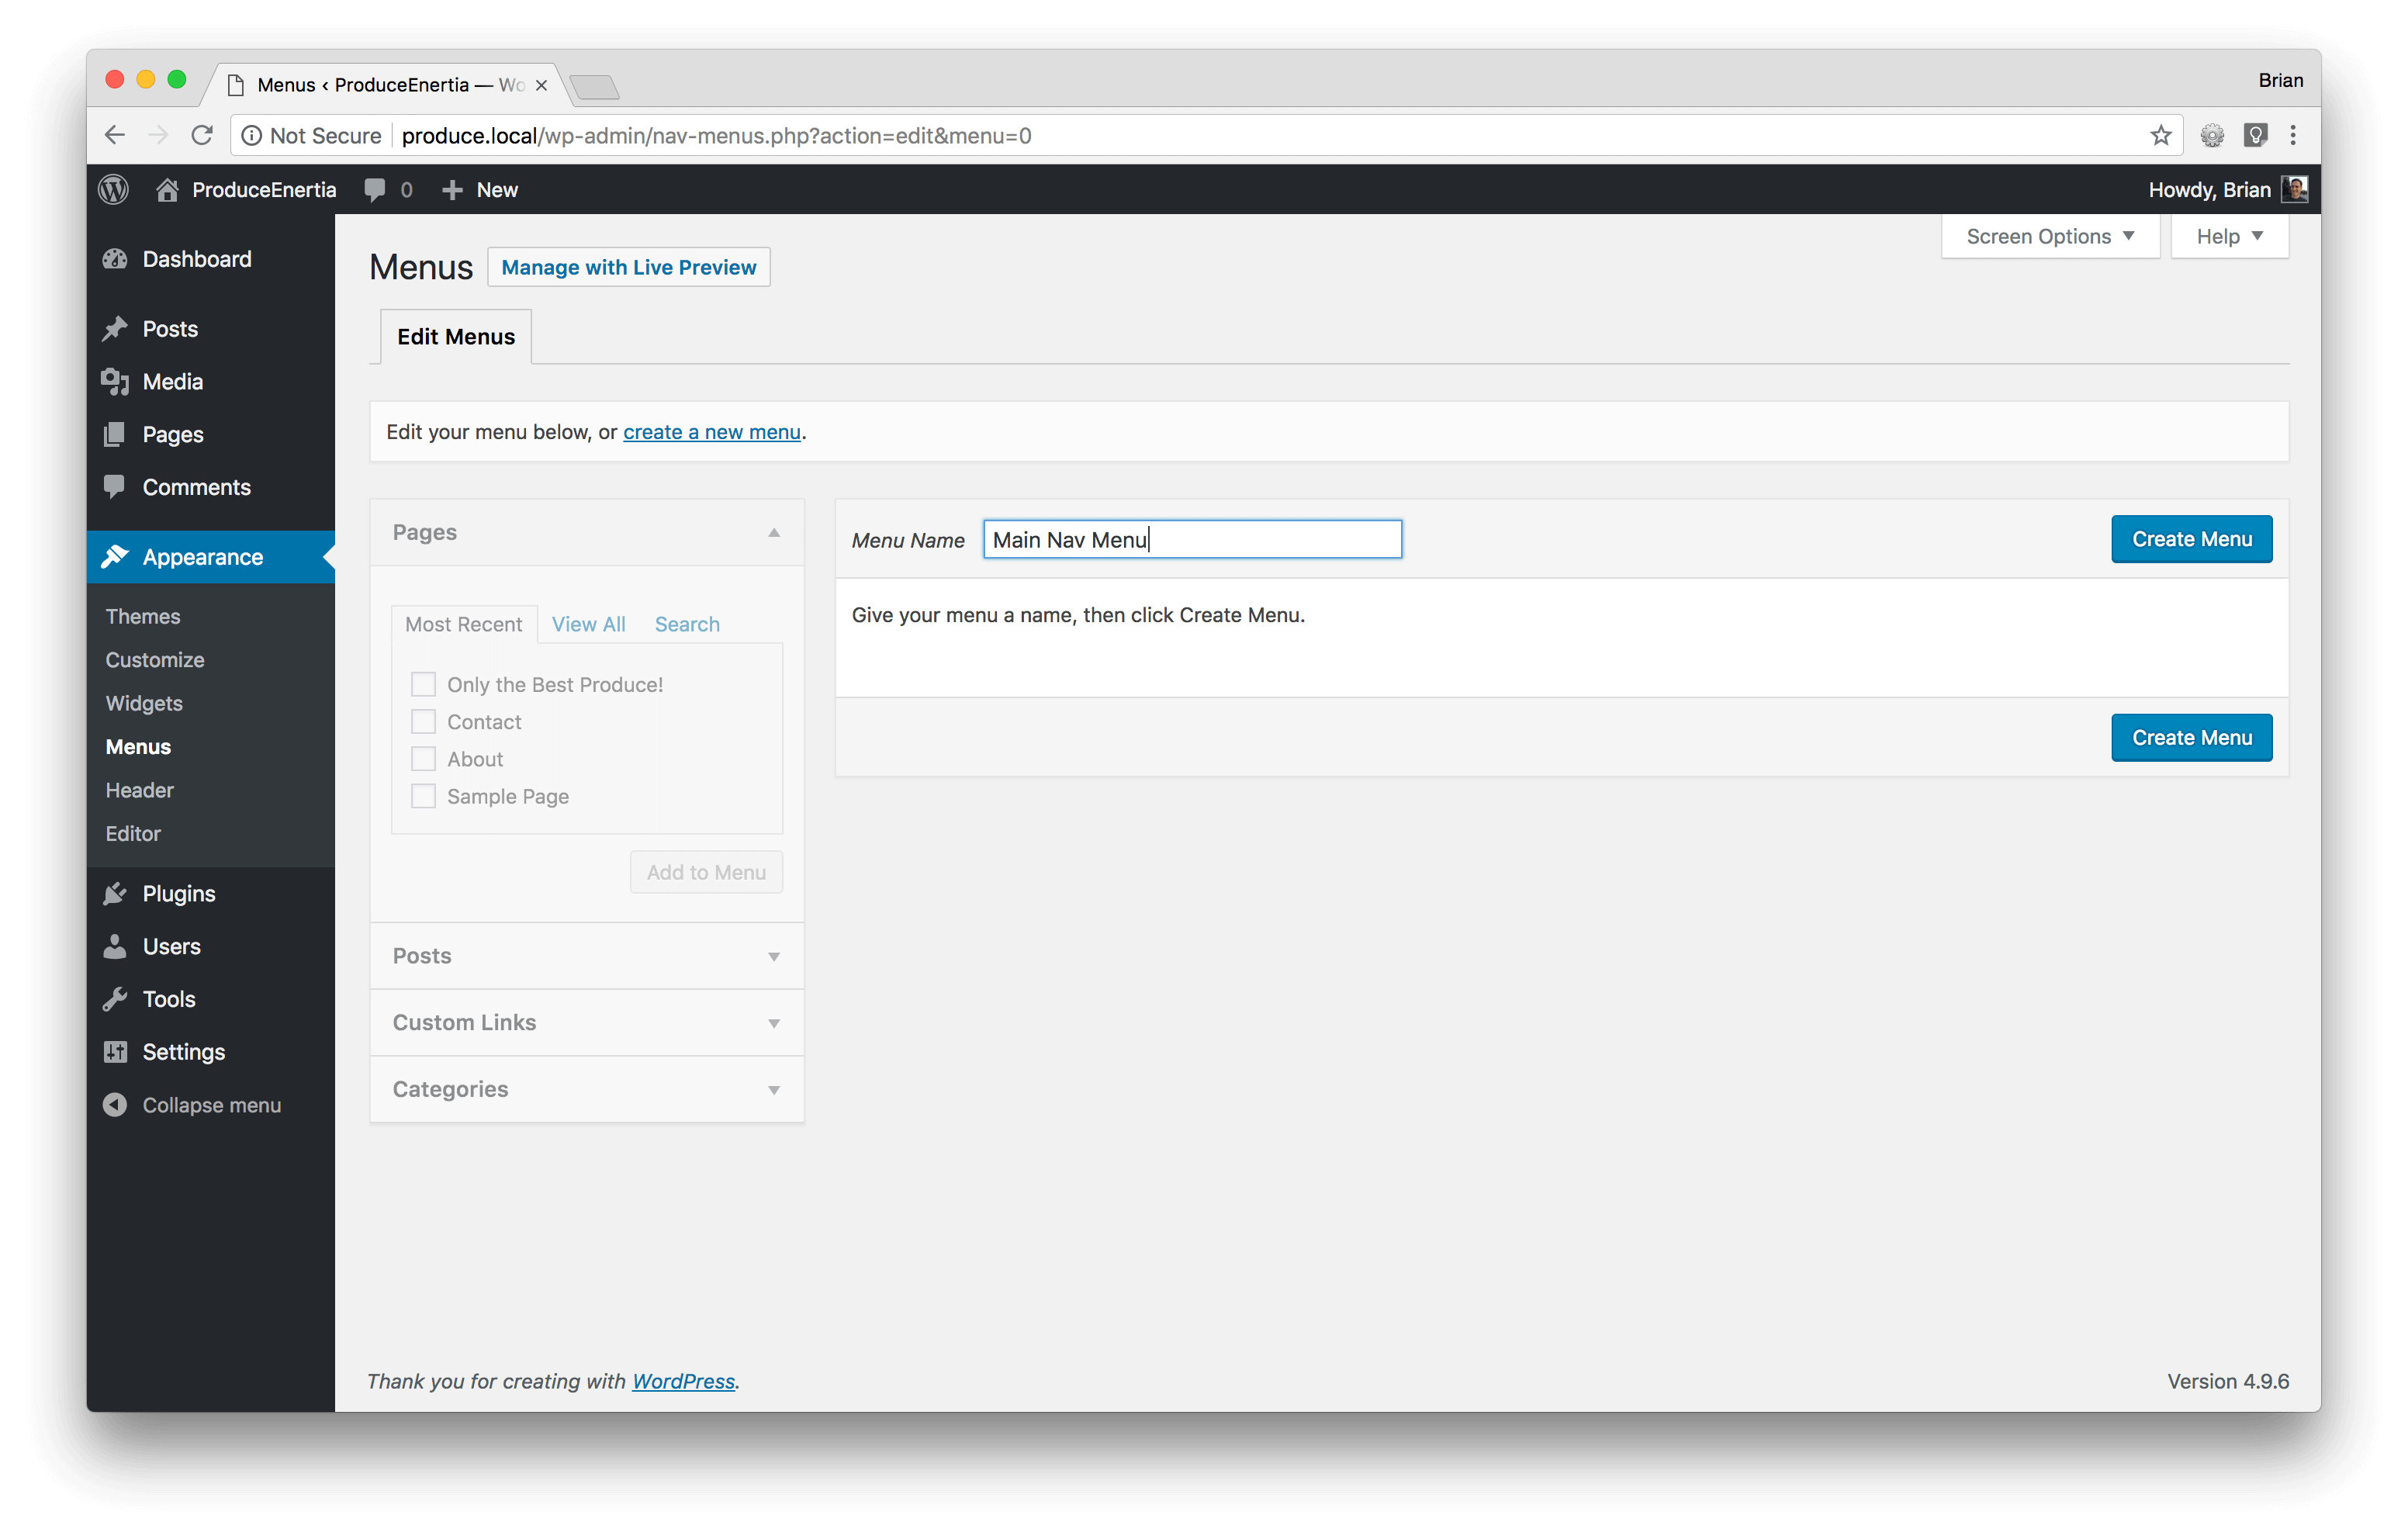
Enter a meaningful name in the “Menu Name” field then click the “Create Menu” button (Figure 3).
Figure 3: Menus – Adding a Menu Name
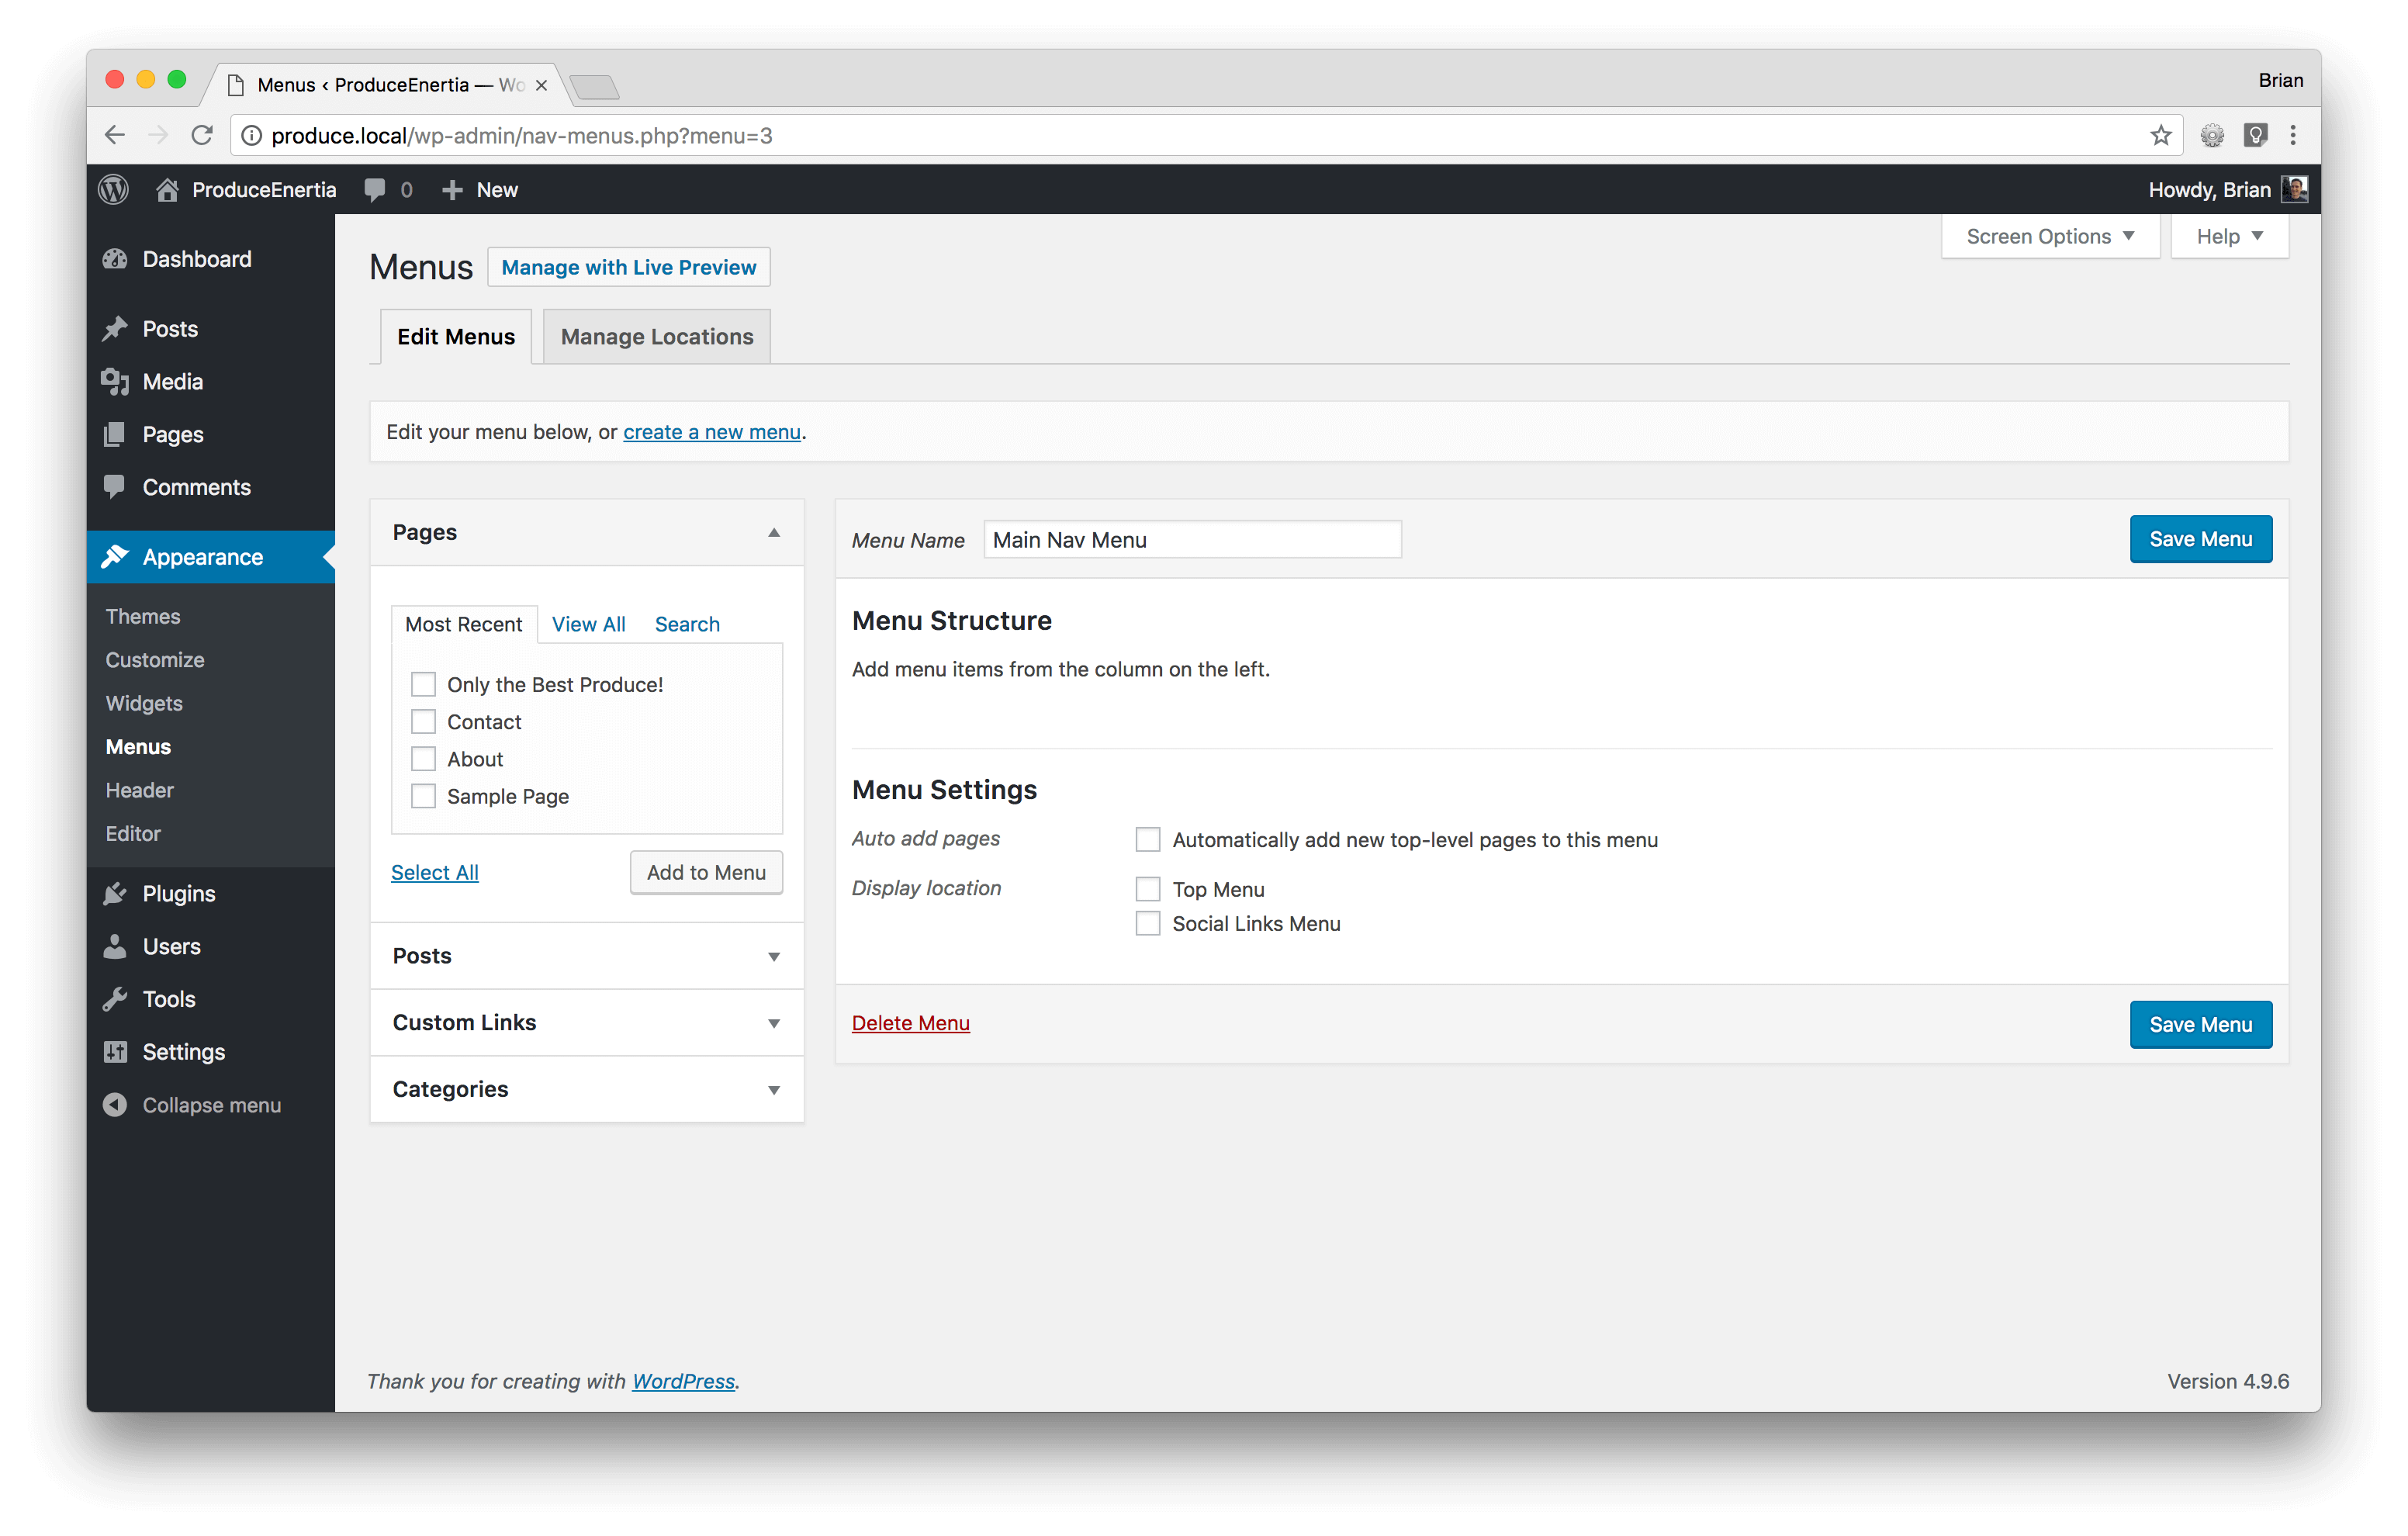
Once you’ve created a menu you can select pages to appear in it (Figure 4).
Figure 4: Menus – Menu Created
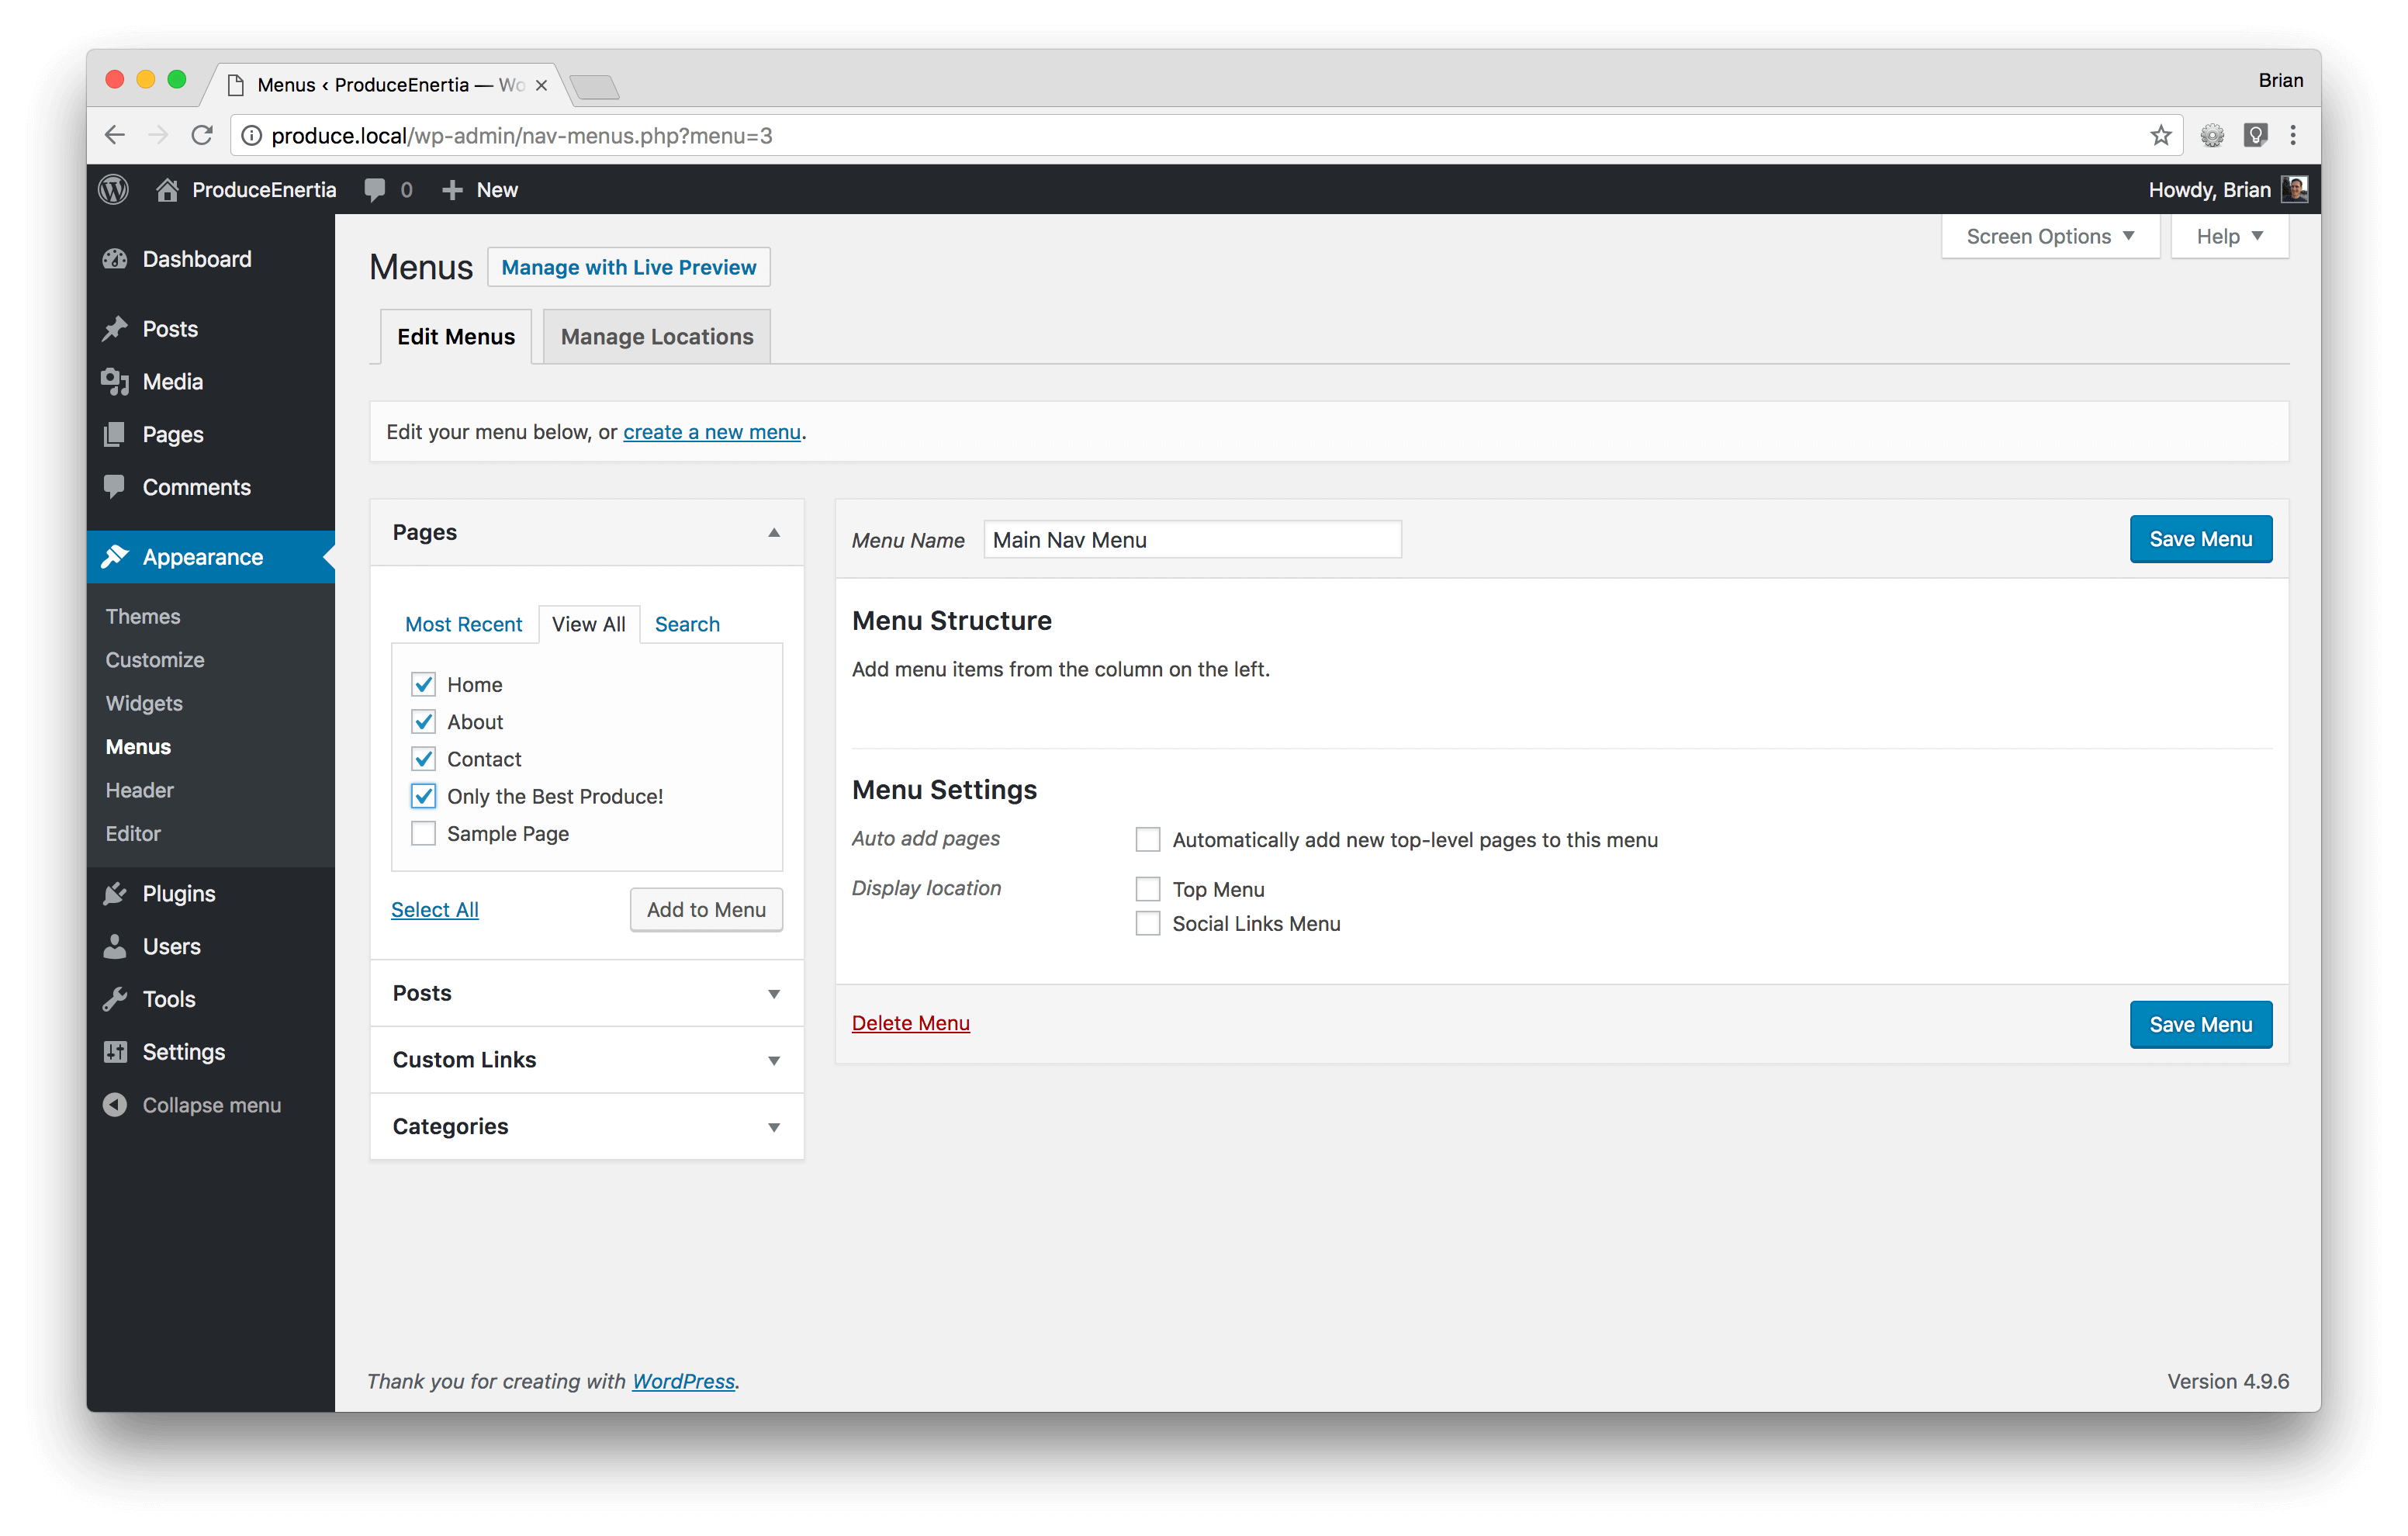
The “View All” tab allows you to choose from all of your pages, not just the most recent ones (Figure 5).
Figure 5: Menus – View All Pages
Select the pages you want to include then click the “Add to Menu” button (Figure 6).
Figure 6: Menus – Selecting Pages
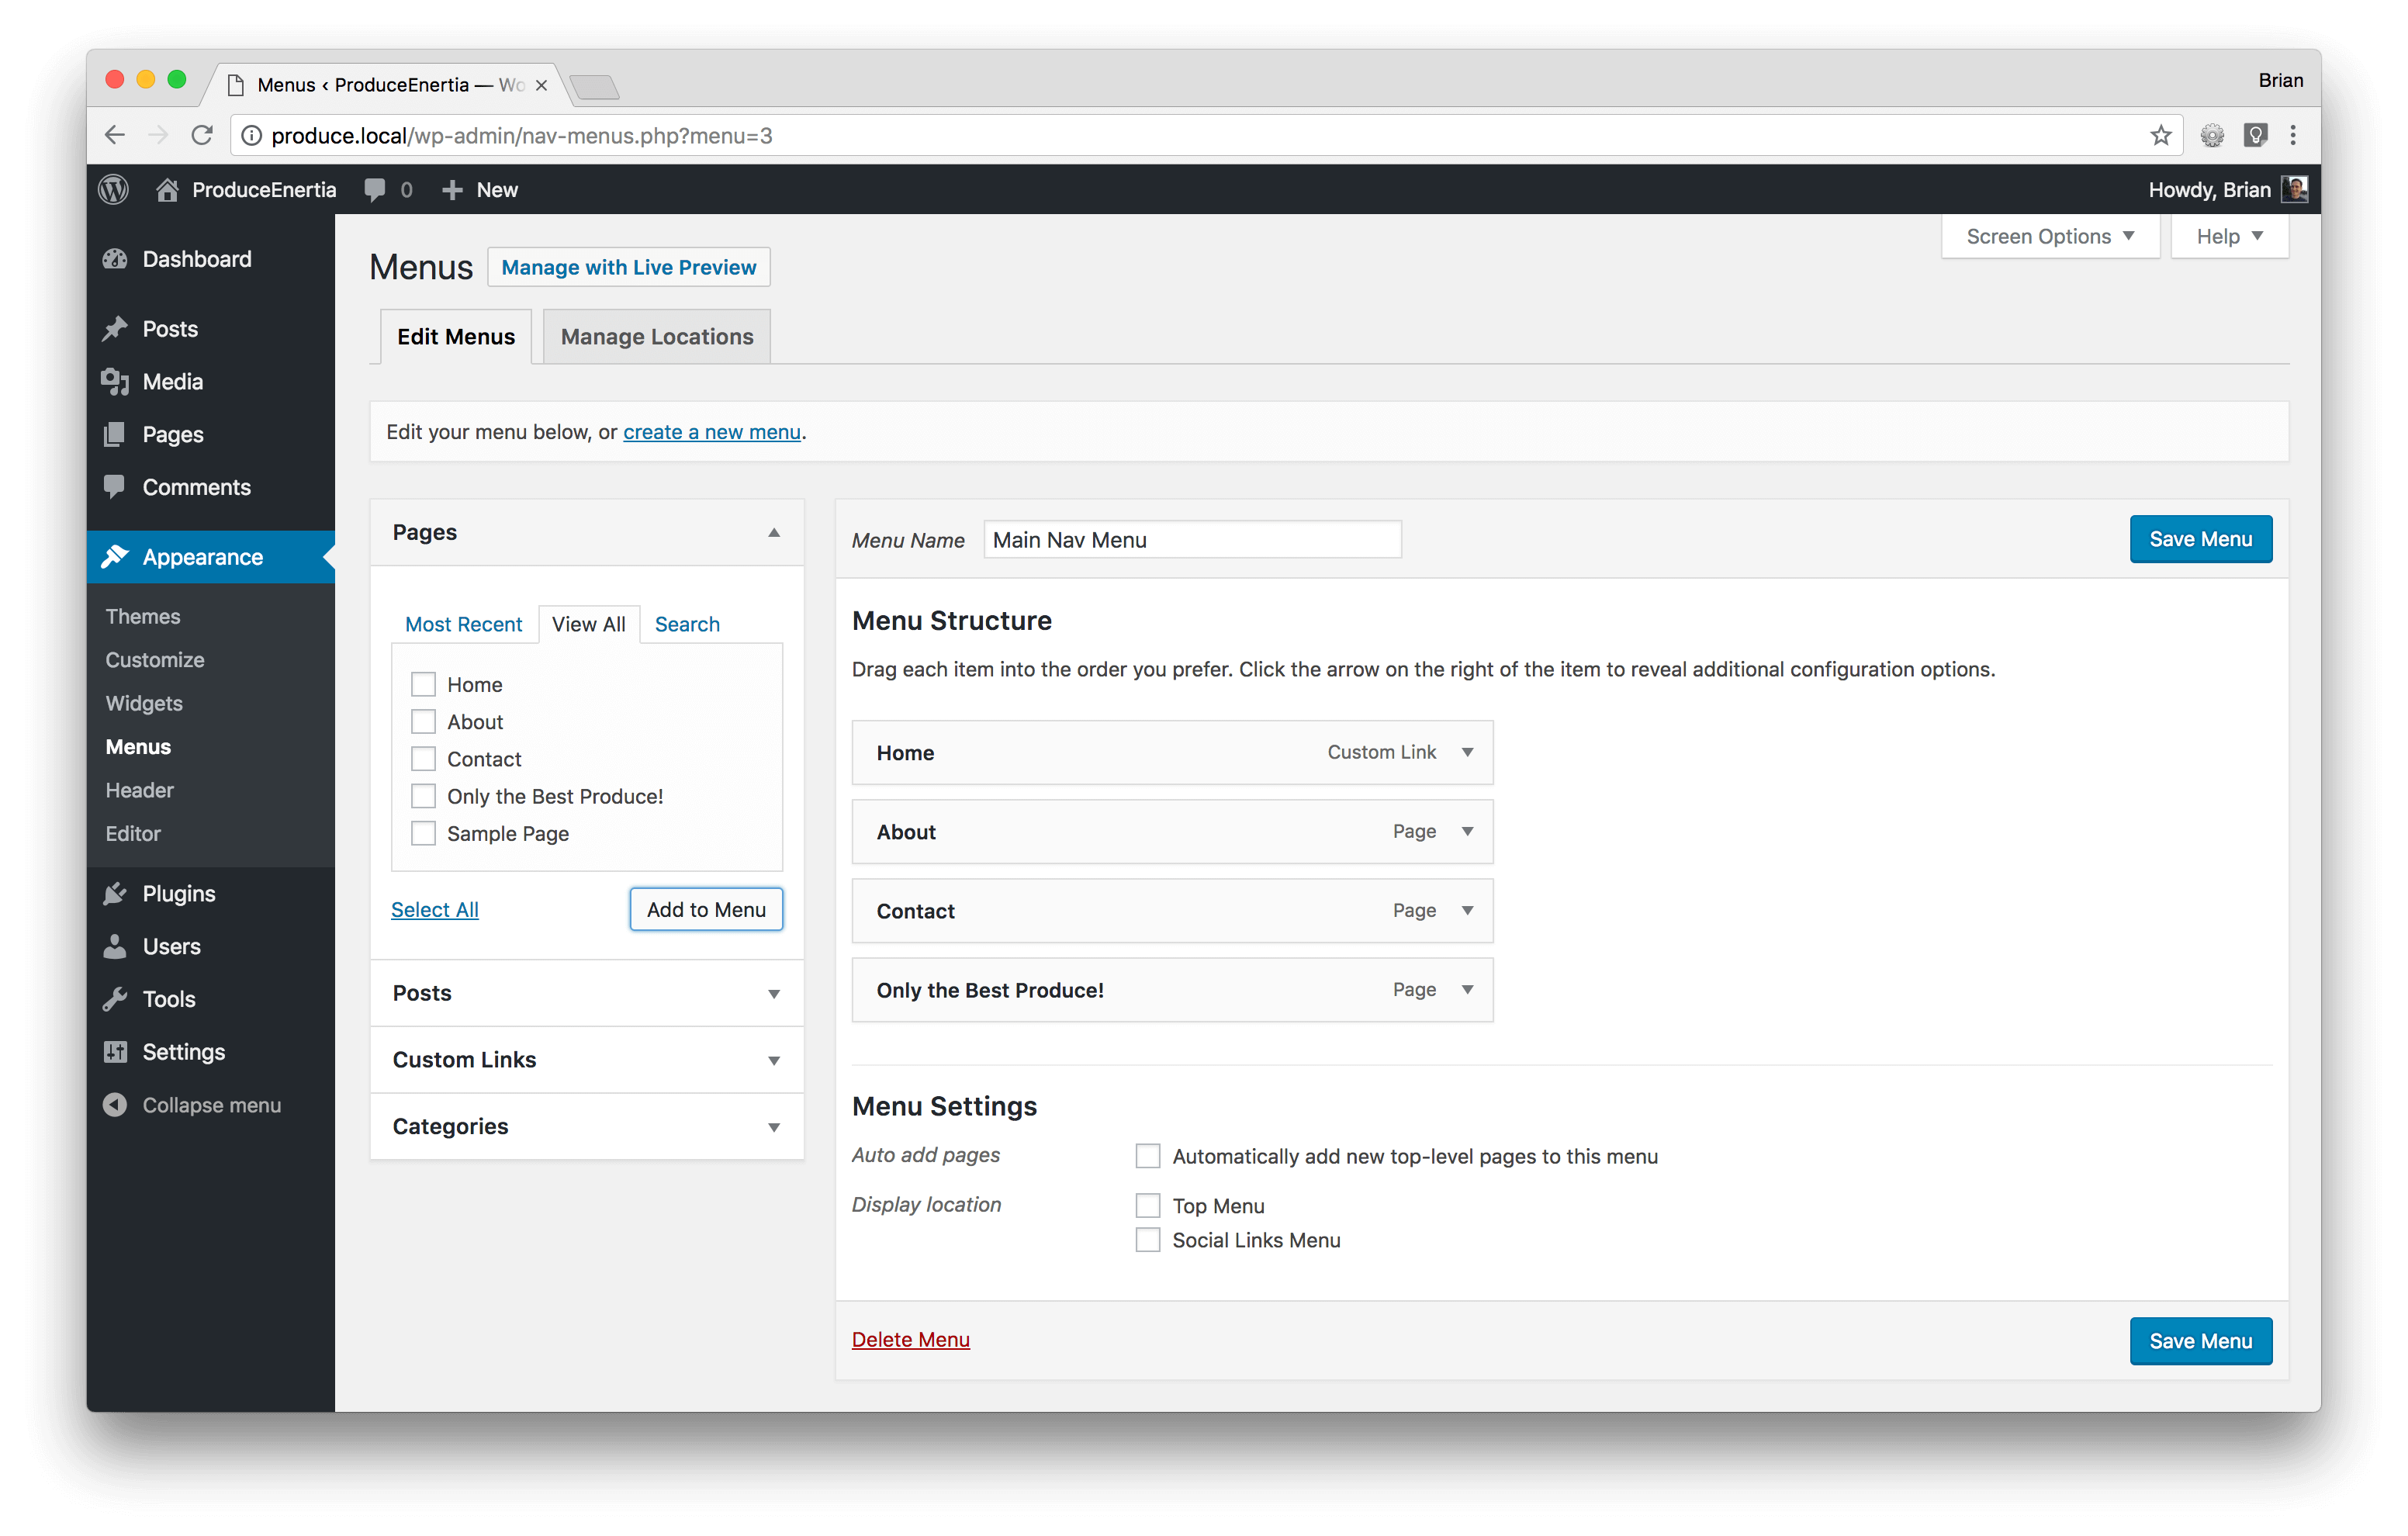
Voila! The selected pages have been added to your menu (Figure 7).
Figure 7: Menus – Pages Added
Now choose your auto-add and display-location settings (Figure 8).
Figure 8: Menus – Menu Settings
Note the “Auto add pages” and “Display location” options under “Menu Settings” (Figure 8). These are both important.
For common site information pages such as “About” and “Contact”, you probably want those to be quickly accessible from anywhere a site navigation menu appears, but that may not be the case for landing pages—especially if you’re using multiple versions. Thus, you may want to double-check your current “Auto add pages” setting before publishing any new page.
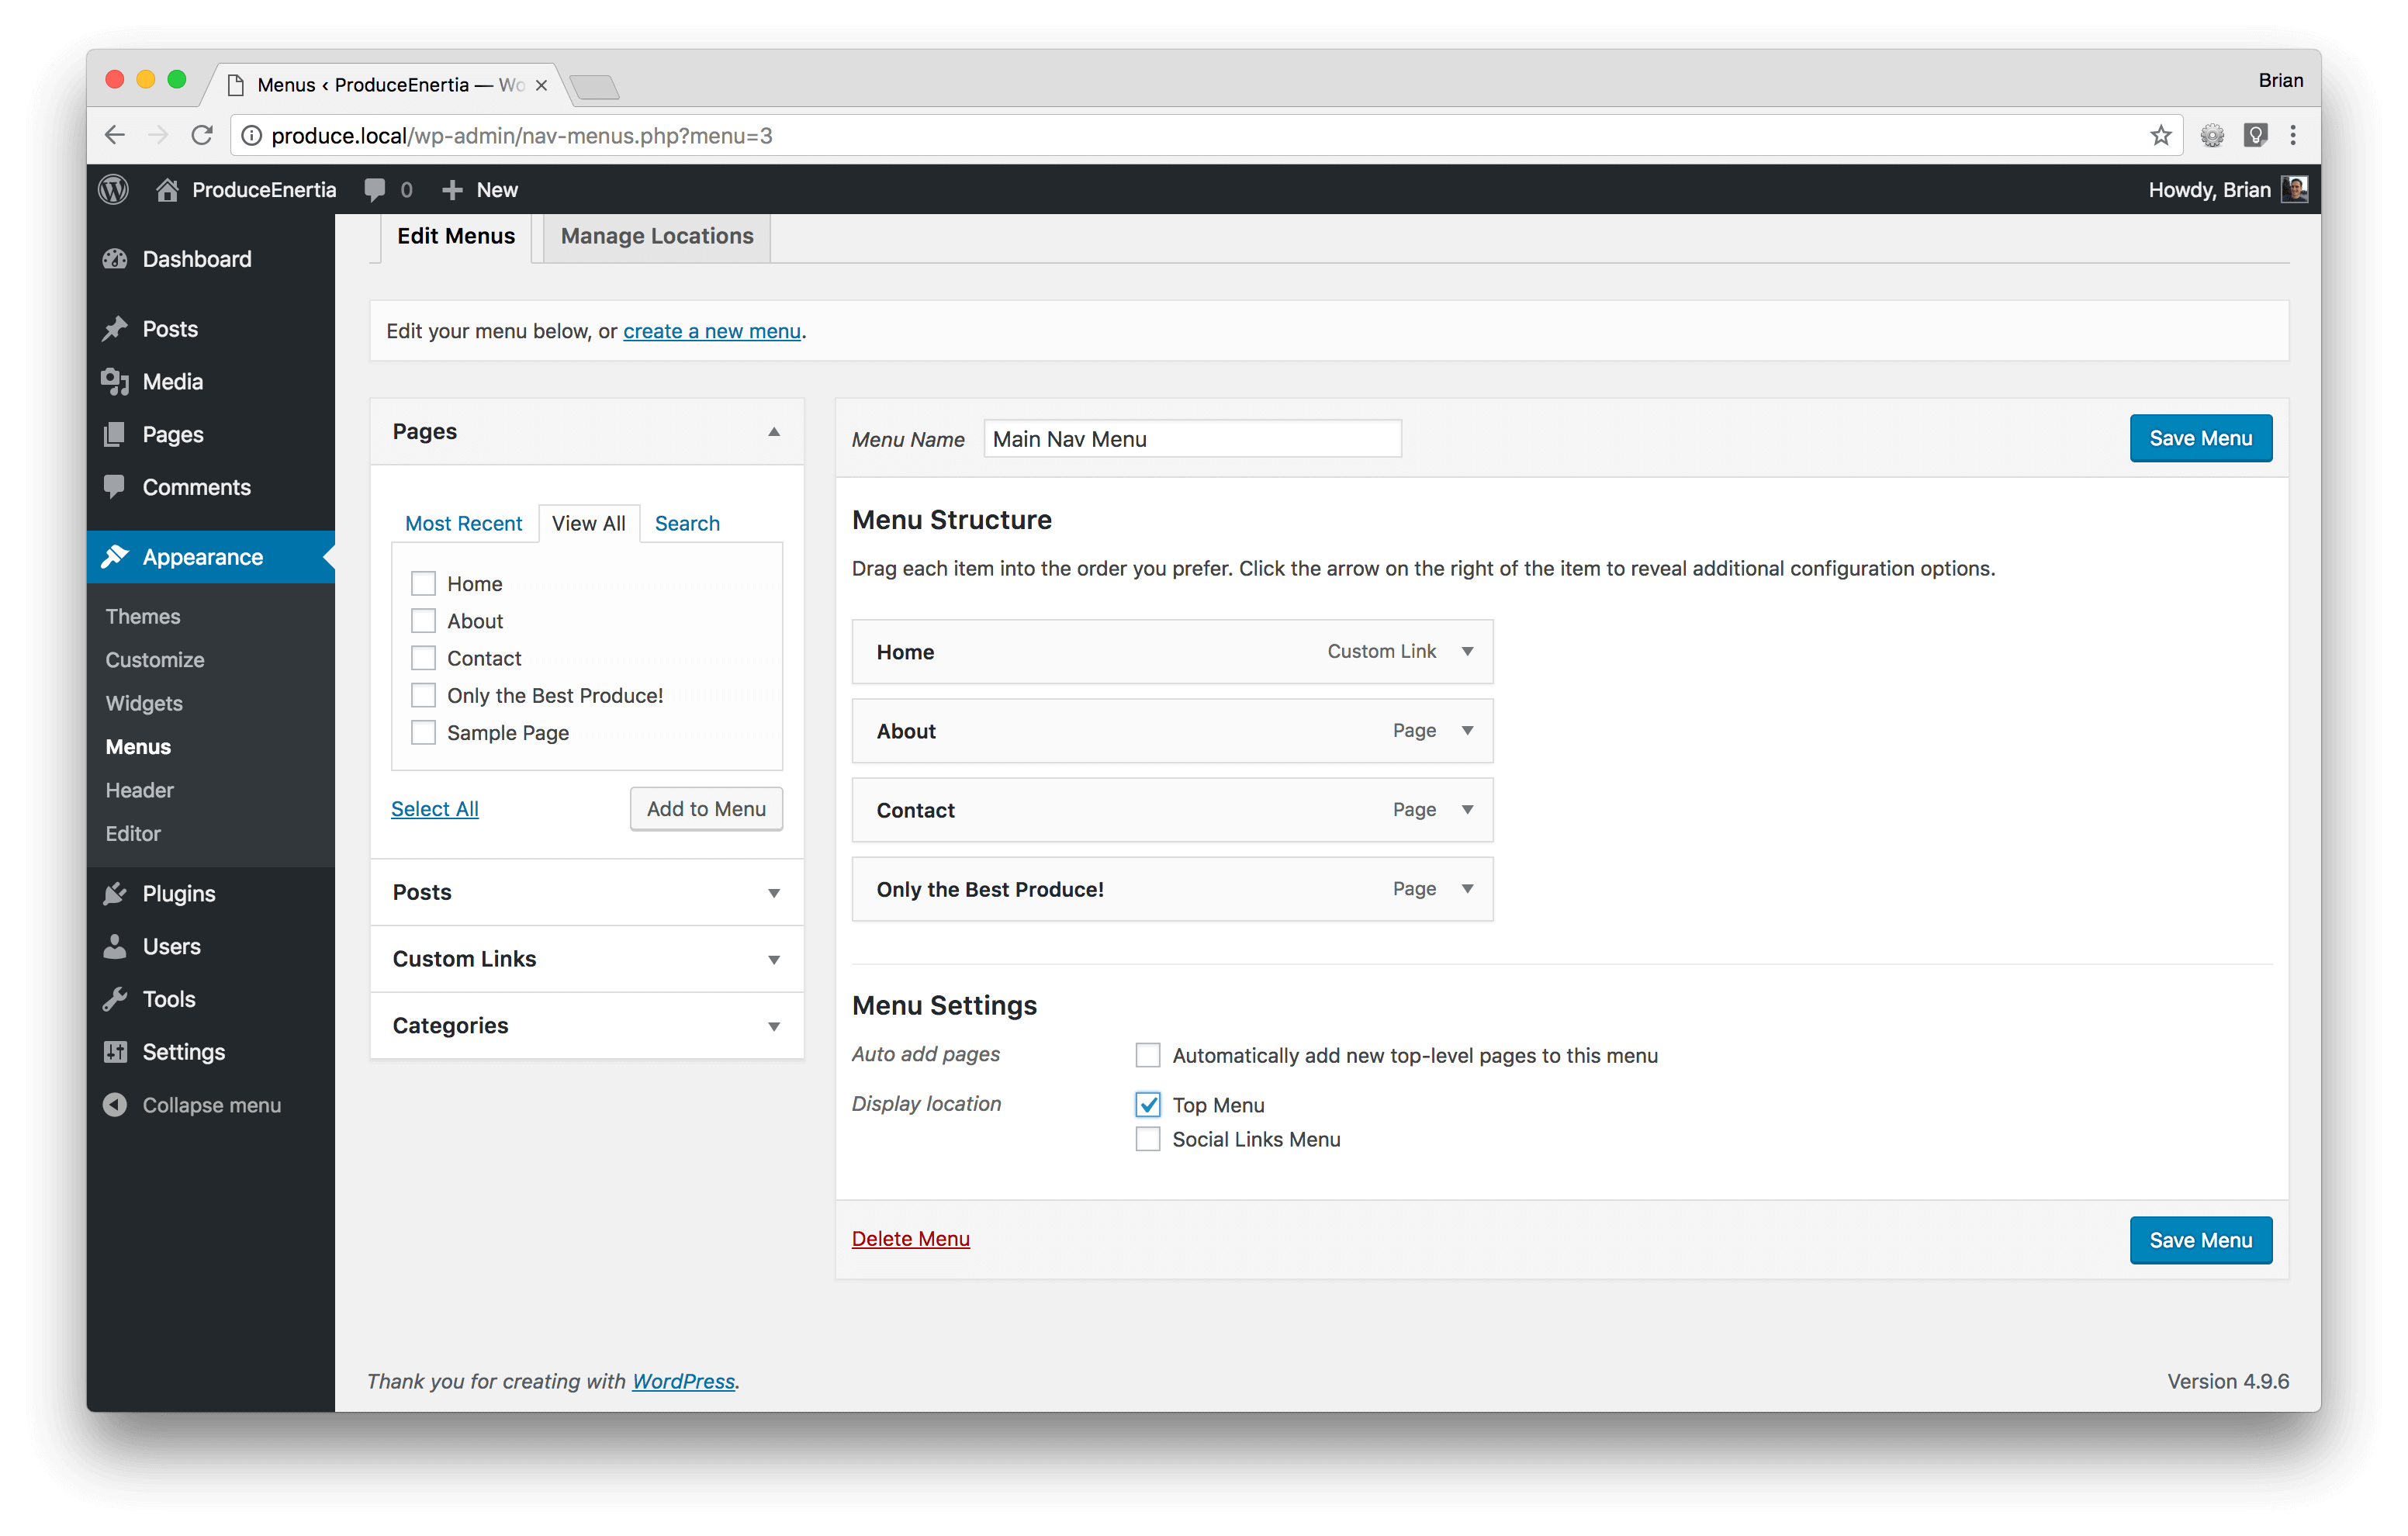
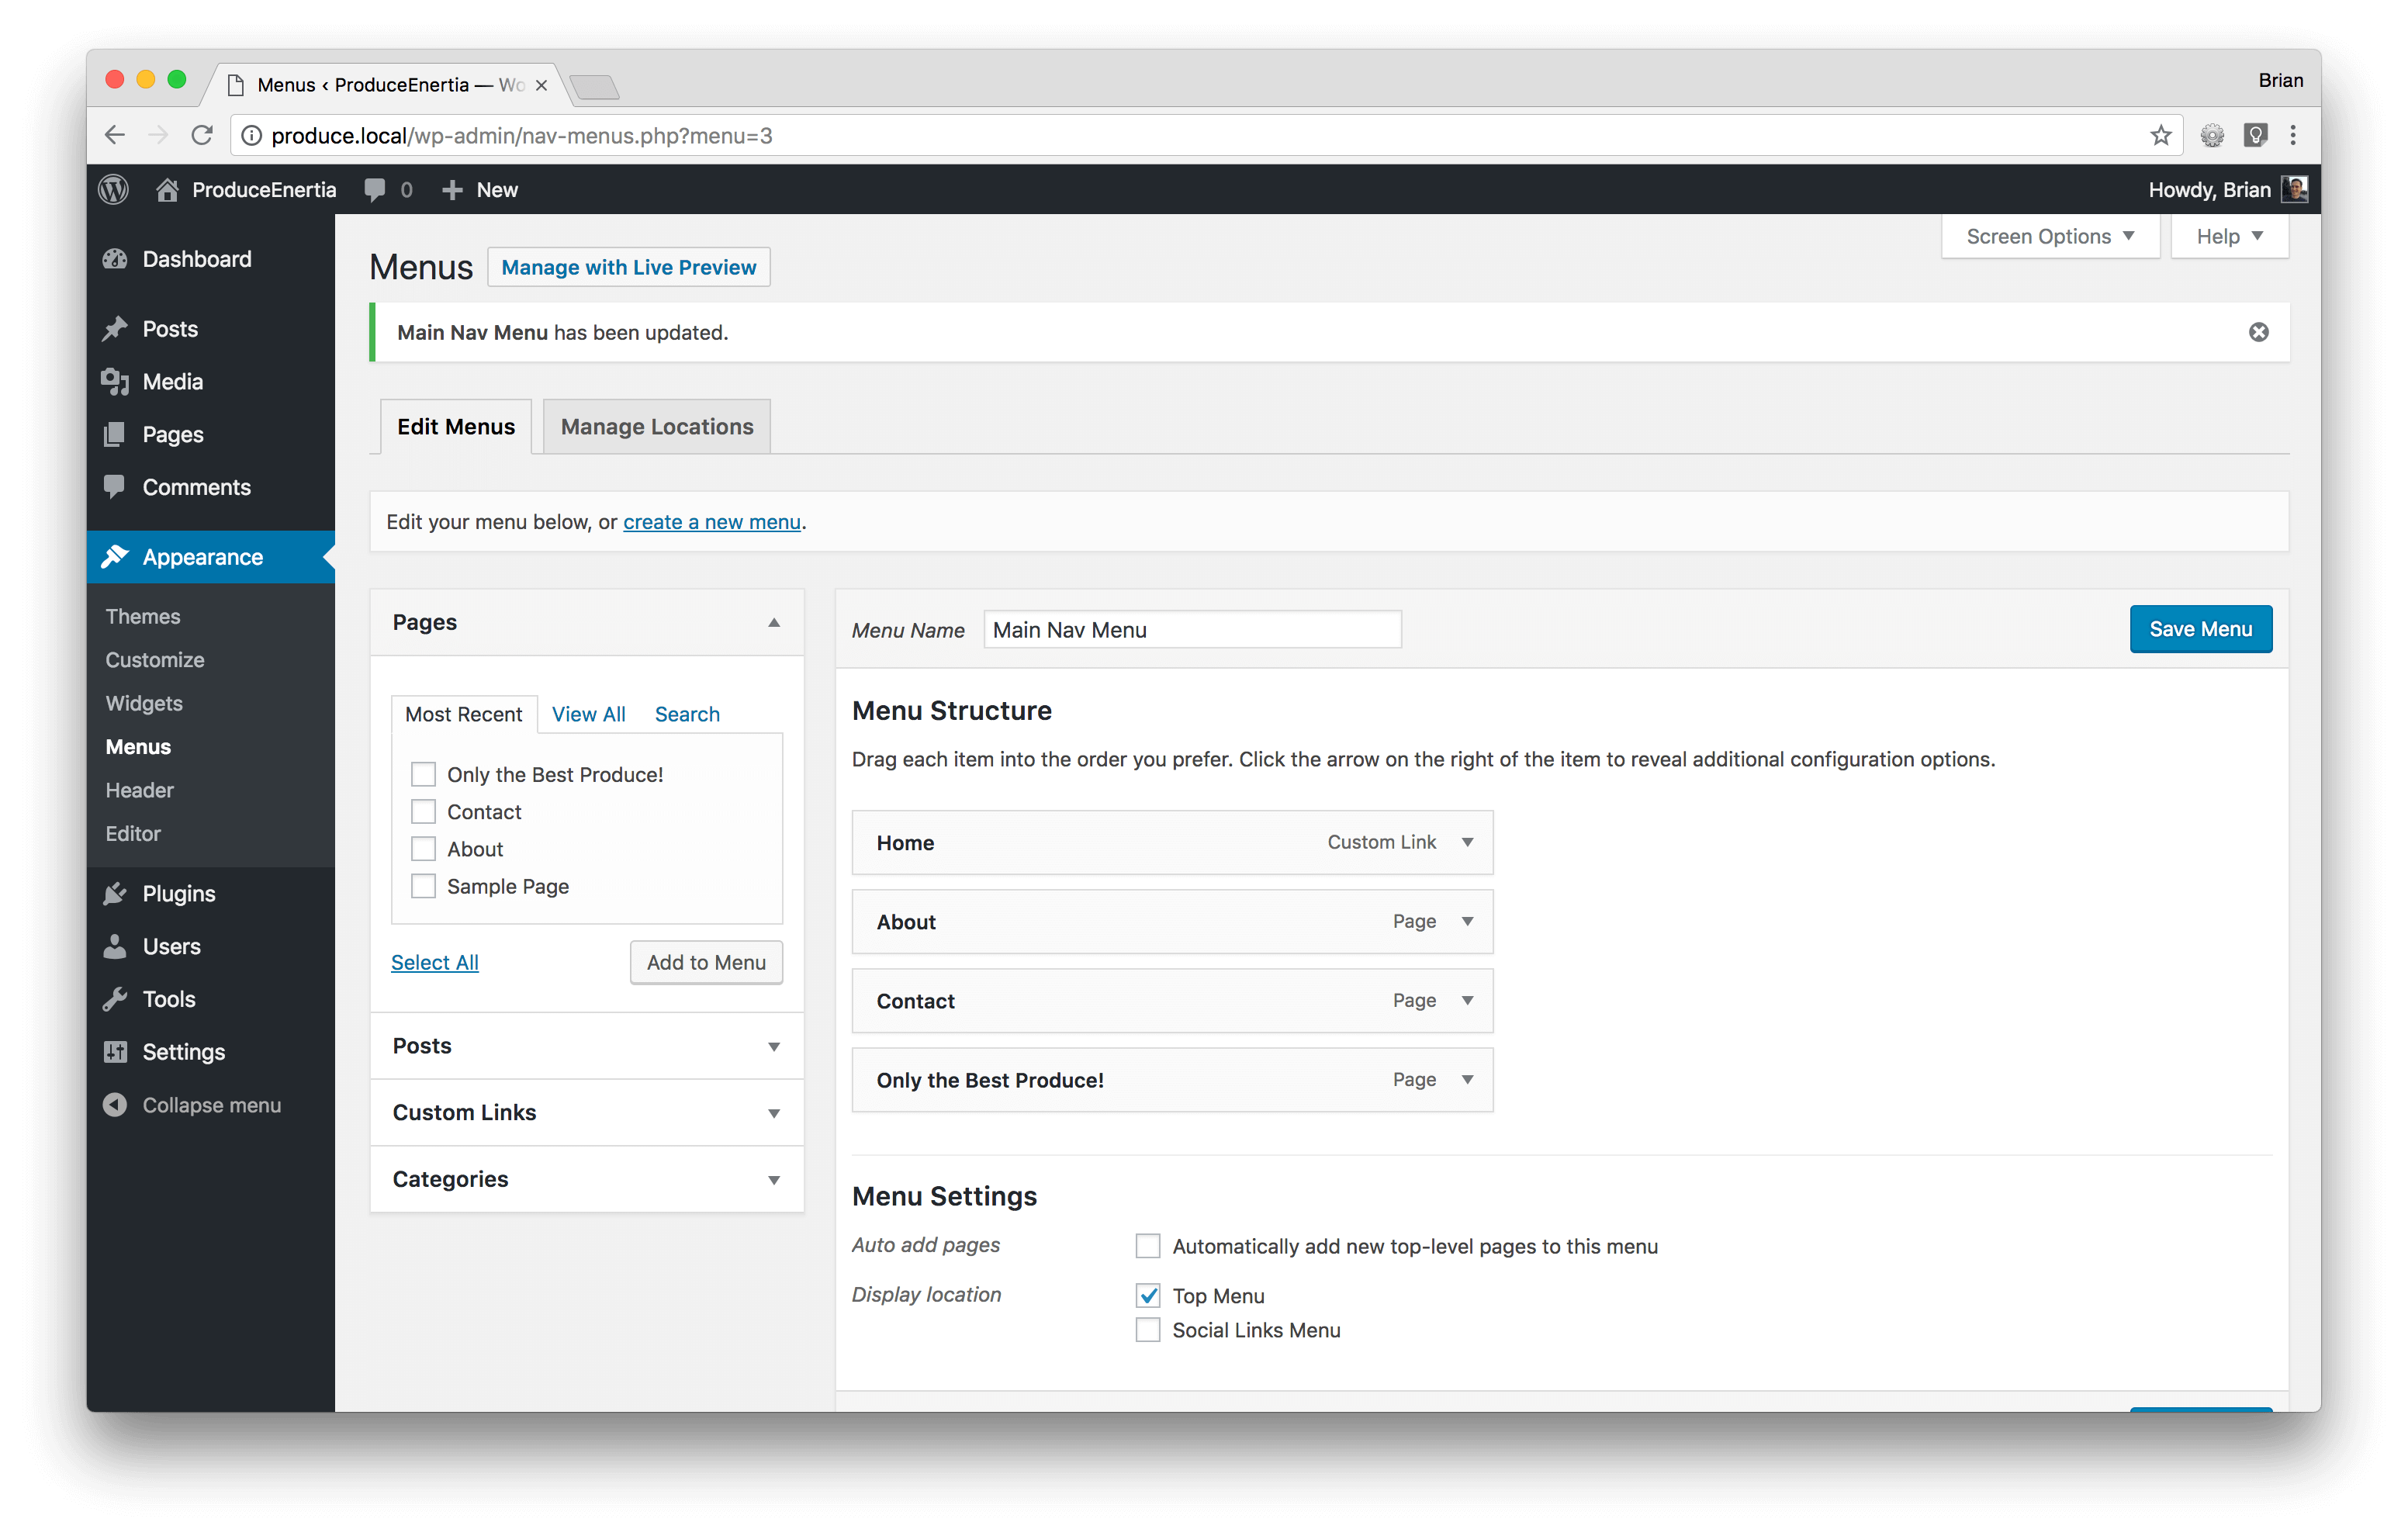
Once you’re happy with your menu settings click the “Save Menu” button then the menu will be saved (Figure 9) and immediately available on any pages that use it.
Figure 9: Menus – Menu Saved
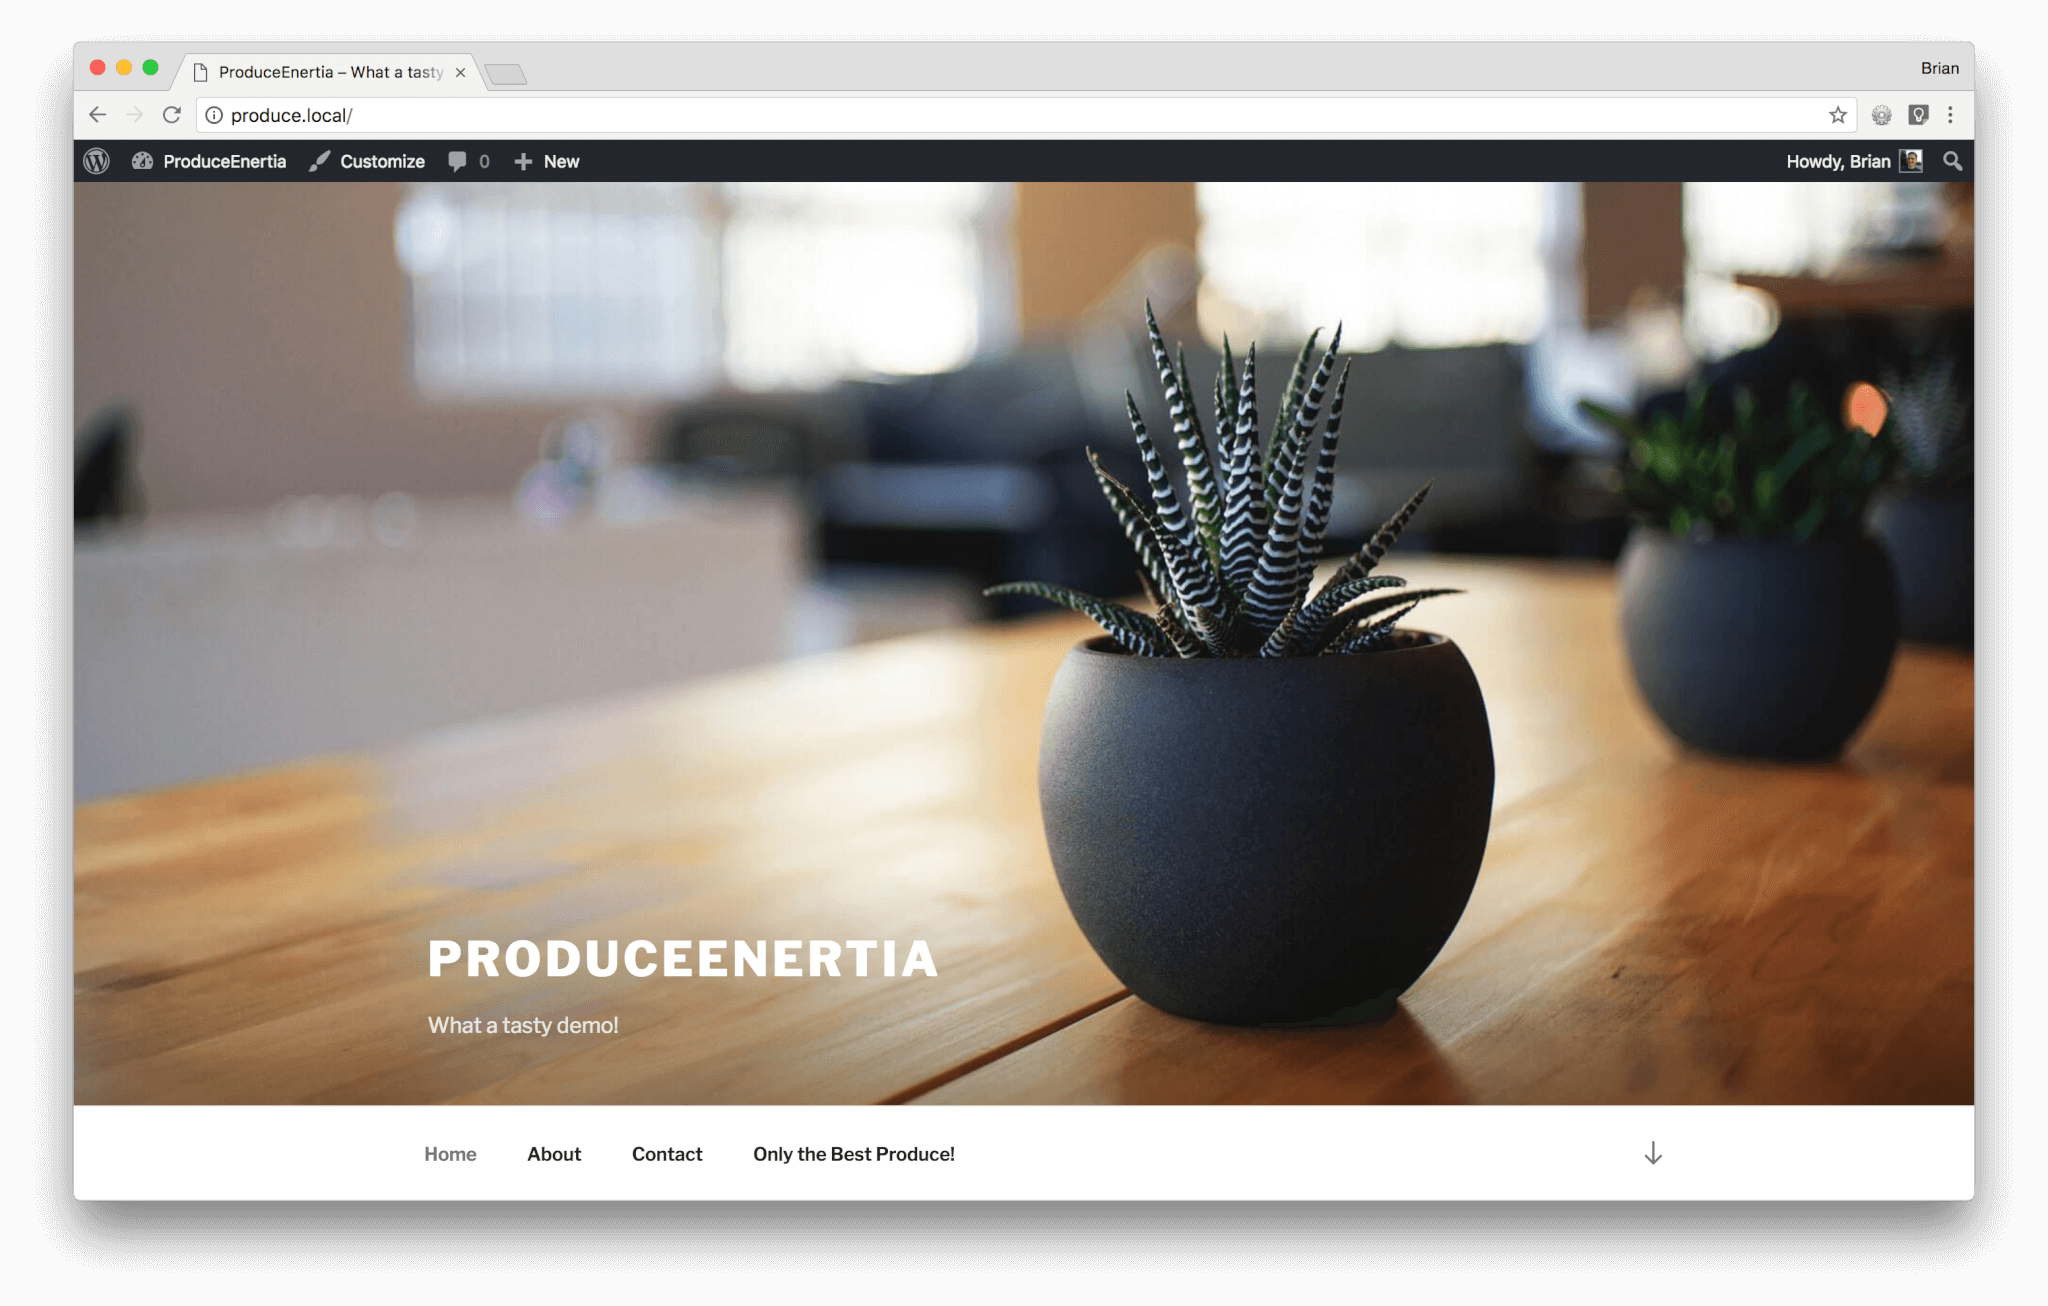
Here is a menu in the “Top Menu” location in our child theme, offering links to both standard pages and a landing page (Figure 10):
Figure 10: Menus – Result
Now that we’ve got our menus just the way we want them that just leaves our title text.
Customizing Title Text
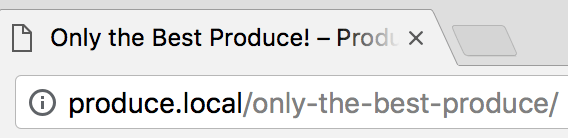
By default, when WordPress assembles the HTML for a page it fills the title element with both the page title and the name of the site. For example, if a site using the “Twenty Seventeen” theme is named “ProduceEnertia” and a page is titled “Only the Best Produce!” then the assembled HTML document’s title will be as follows:
Only the Best Produce! – ProduceEnertia
In a browser tab that looks something like so (Figure 11):
Figure 11: Document Title – Page Title and Site Name
What if we don’t want every HTML document title to include the name of the site, though? Or what if we want to change the separator? Thankfully, HTML document title generation can vary from theme to theme—even from child theme to child theme. WordPress facilitates such changes through hooks and filters. For example:
document_title_parts allows us to change or remove the page title or the site name.
Let’s say we want WordPress to display just the title of each page in its corresponding HTML document title. We can tell it so via a filter function for its document_title_parts hook. In this case, WordPress will know to not include a separator, so we don’t have to do anything with the document_title_separator hook.
Let’s add a filter function to functions.php and tell WordPress to use it:
That is enough to omit the site name from our HTML document titles, but it will omit the site name from all of our HTML document titles, which probably isn’t what we want. We should do something to limit which titles are modified.
One option is to keep a list of applicable page template file names and check the current page template file name against that list. Let’s start by making the list. Since PHP 5.6 we can define array constants. I’ll call mine LANDING_PAGE_TEMPLATE_FILES:
You can name yours something else if you like. You can call it SUSAN if it makes you happy, although something more descriptive might be prudent. And your file names may also differ, of course.
The add_filter call is the same as before but maybe bumped down a few lines or so:
Now we just use in_array() to check the return value of get_page_template_slug() (the current page template file name) against LANDING_PAGE_TEMPLATE_FILES like so:
If the file name is in the list, the title is modified. Otherwise, it is just passed along as it was received—like a fruitcake that keeps showing up at office gift exchanges.
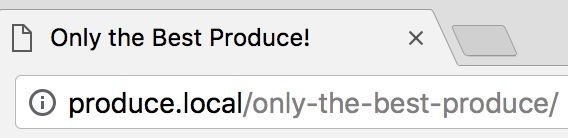
With all of that in place, WordPress can now use page titles as HTML document titles without appending site names when we don’t want them. For example (Figure 12):
Figure 12: Document Title – Just the Page Title
Ah, nice and tidy!
Conclusion
In this series, we have created our own landing page child theme for WordPress, starting with an idea and ending with finishing touches. If you’ve worked though the whole thing you should now have a working theme and basic understandings of what makes a theme in general, child themes, and how to use templates and widgets. Congratulations!
Room for Further Improvement and Customization
The whole point of WordPress themes is to enable content publishers to have things just the way they need and prefer them to be. As long as there are different needs, different preferences, and different ideas there will be room for improvement and customization, which means there will be plenty of interesting things for developers to do. For example, one could implement custom post types, make custom widgets, or make custom plugins.
From web design, CMS websites, applications, ecommerce, motion graphics and multimedia, graphic design, and print, to Internet marketing solutions, we’ve got you covered.
Get our latest news, insights, and project spotlights delivered directly to your inbox.
* We are the sole owners of the information collected on this site. We only have access to/collect information that you voluntarily give us via email or other direct contact from you. We will not sell or rent this information to anyone.